blog

Wild Sage Discoveries

A Personal Update

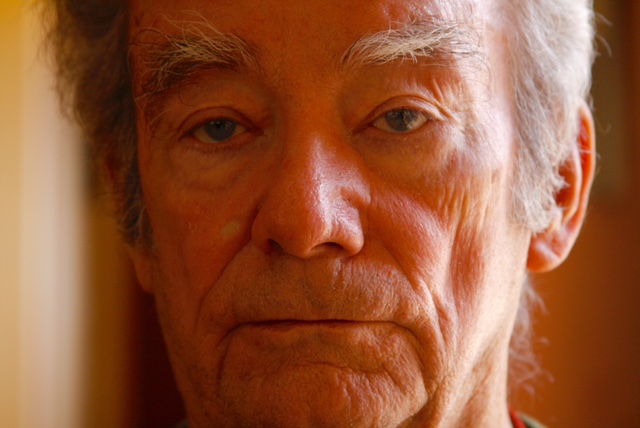
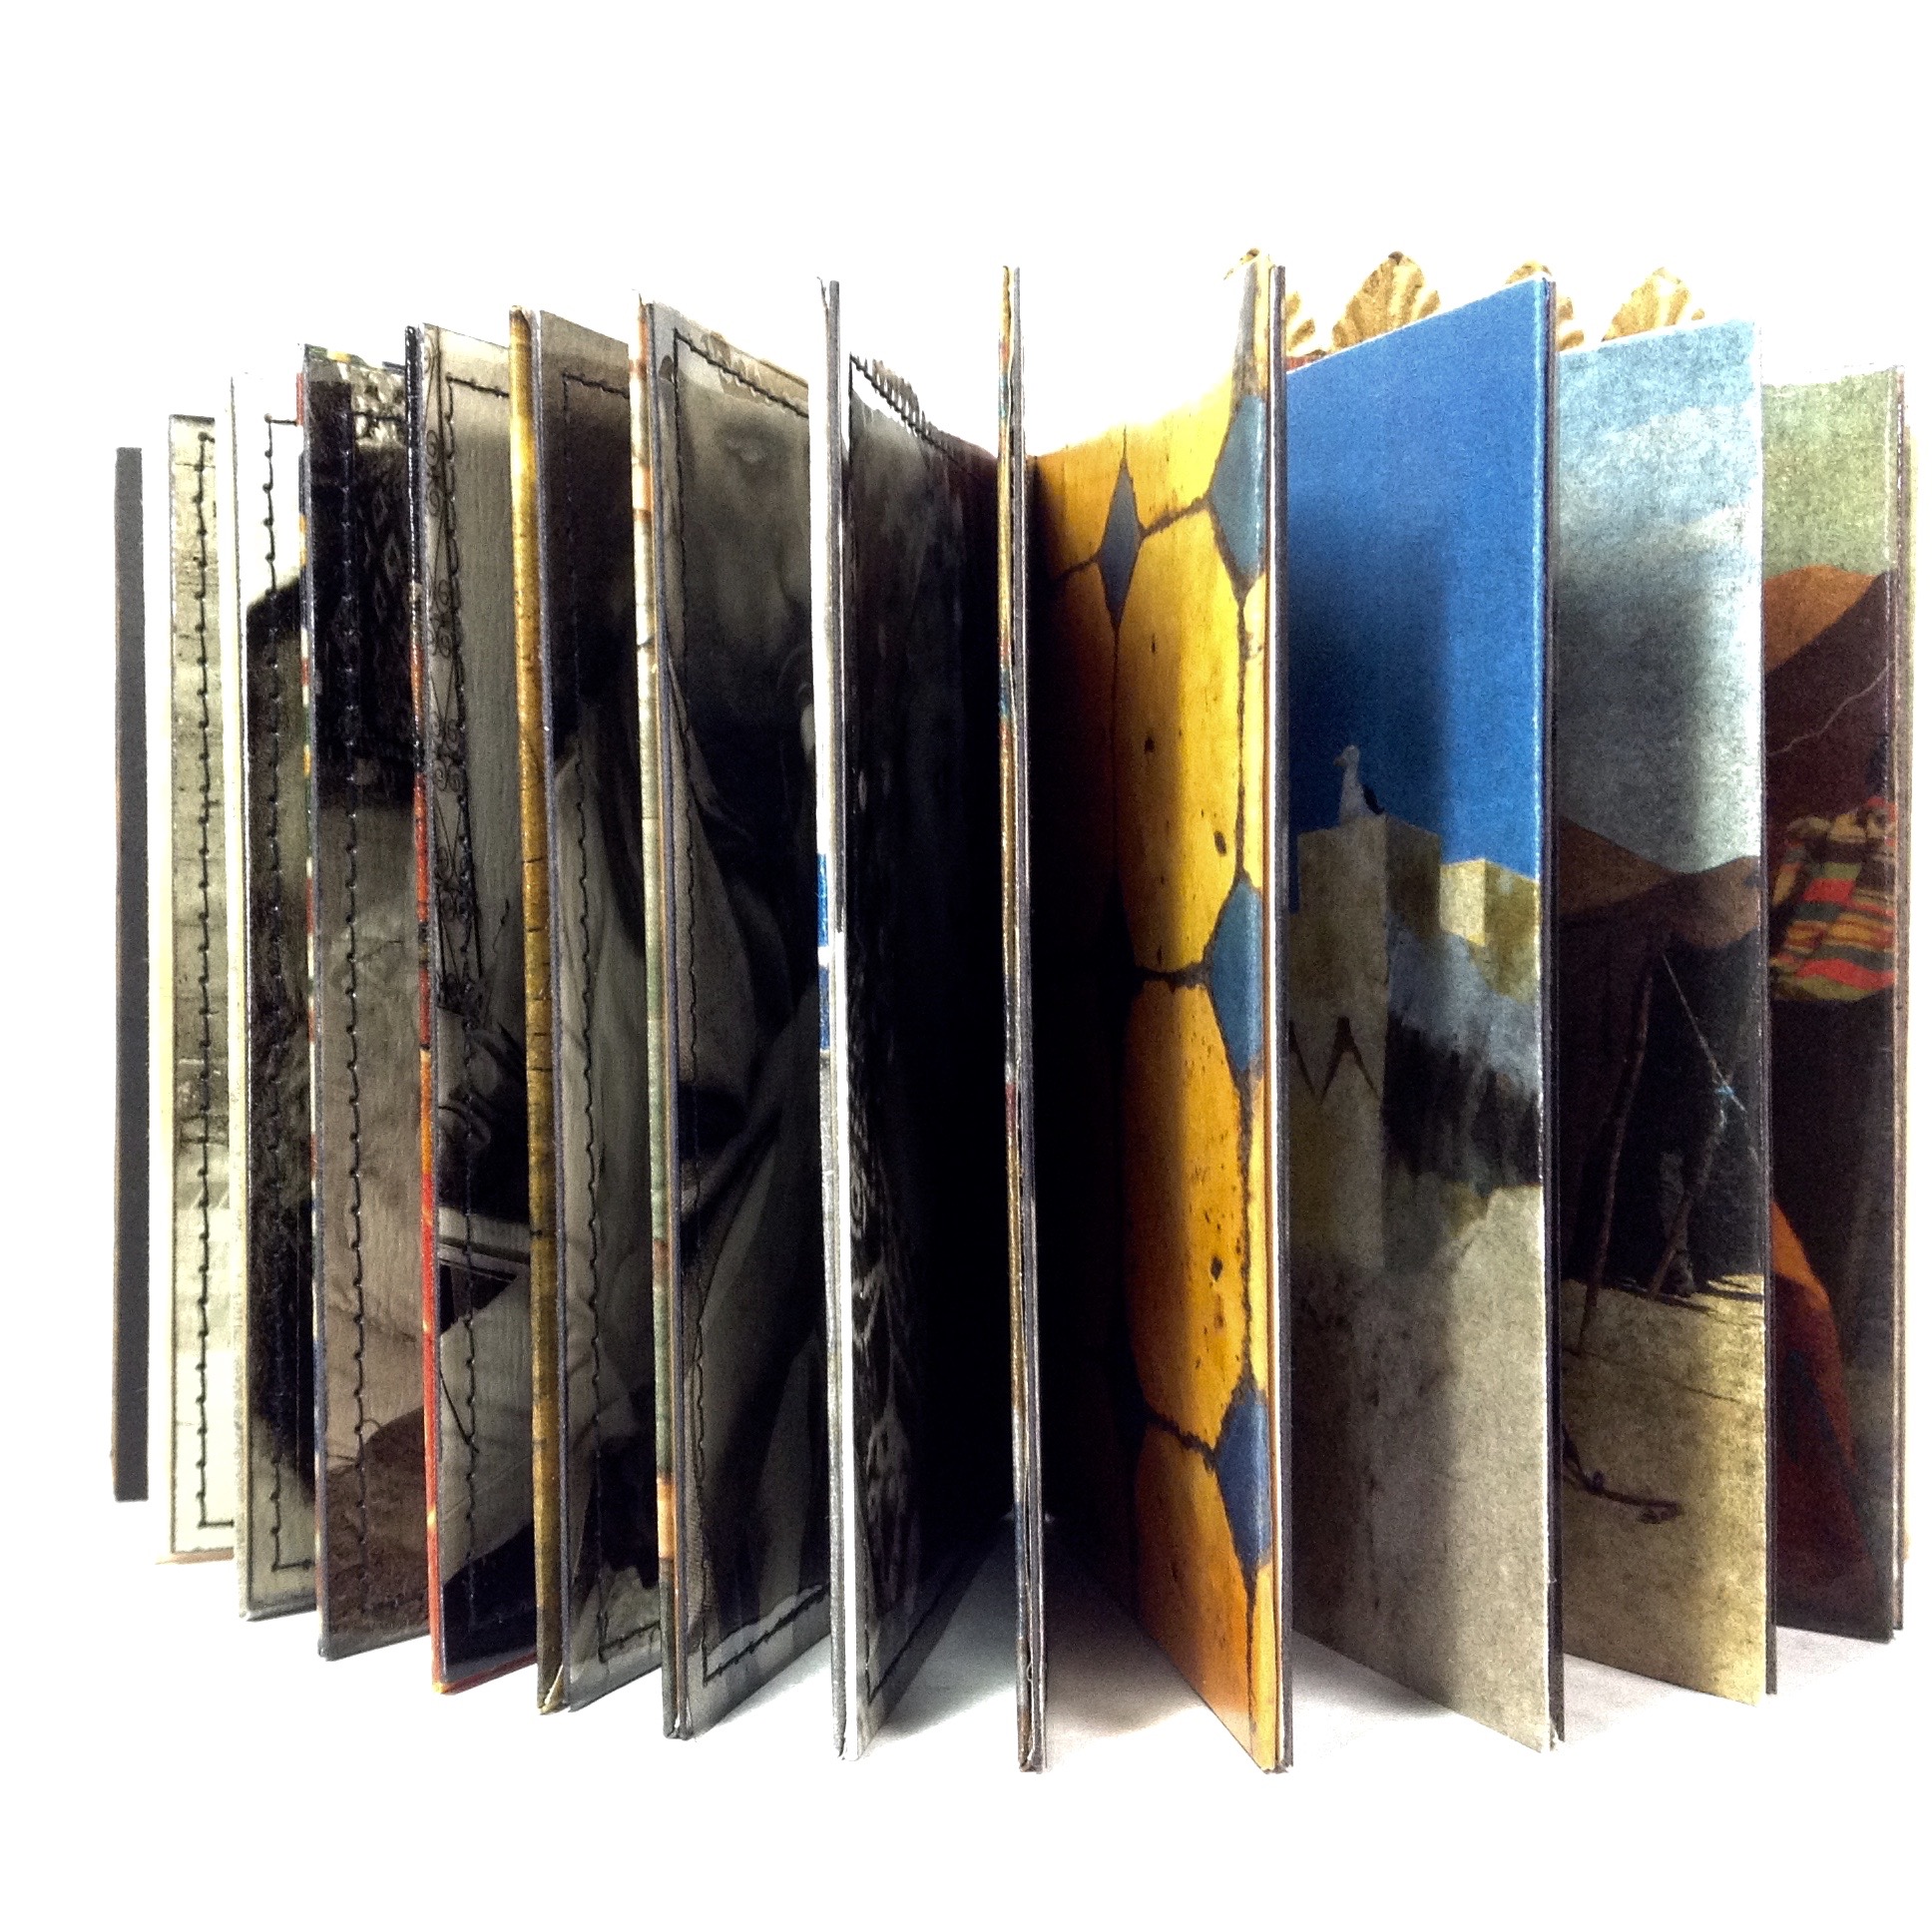
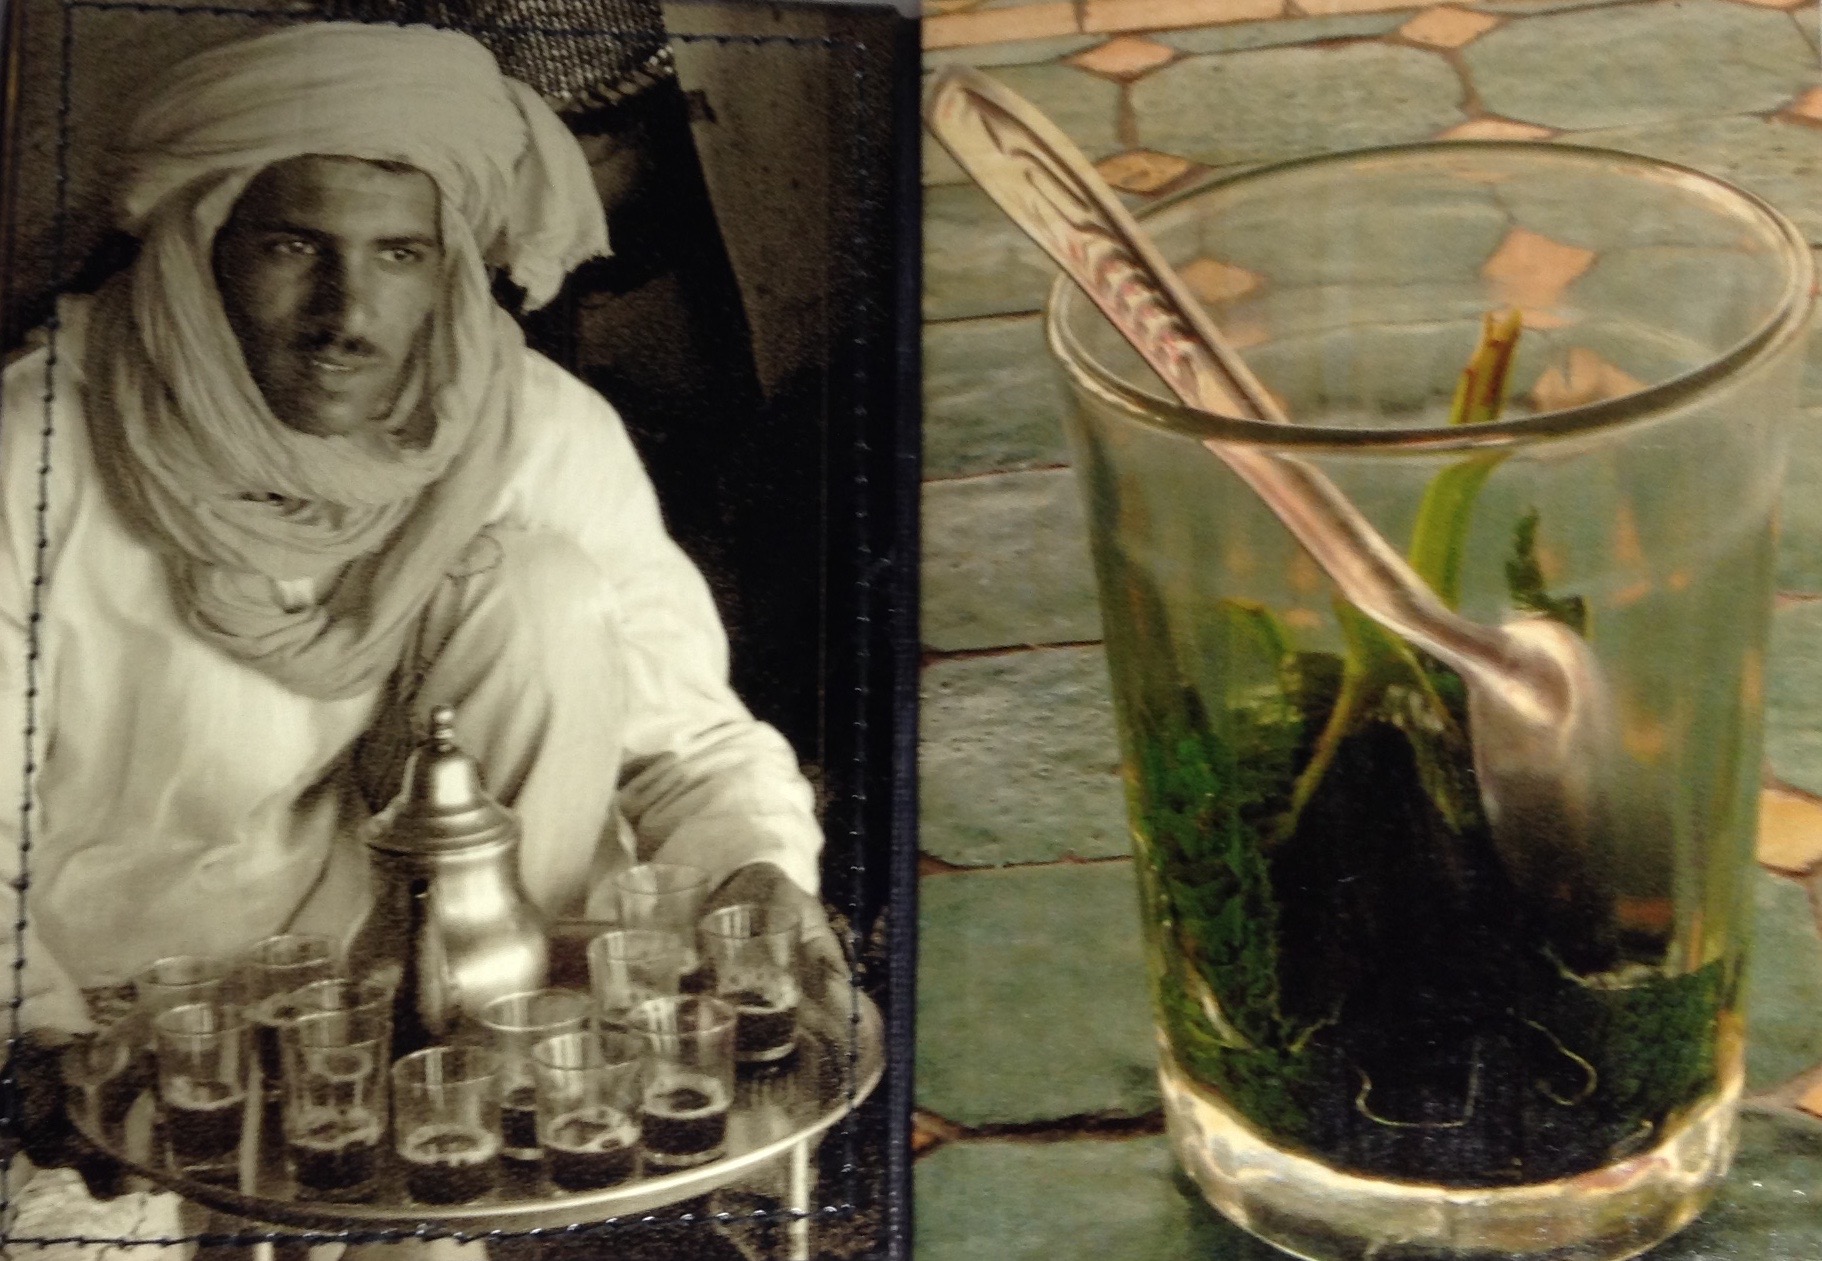
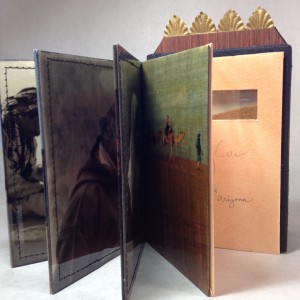
A few weeks ago you got a notification of a new feature on my website – Ed’s photos.  His most recent work has it’s very own column and I hope you will enjoy looking at his photos. I certainly do.  He has a unique view of the world that I find exciting and provocative.

In April Ed was taken by ambulance to the hospital and diagnosed with three clogged arteries and a poorly functioning aortic valve.  It seemed like the docs would be able to fix him up but additional tests uncovered more health issues which were weakening him.  Sadly, on May 16 he left our world for a new adventure – that next big trip we all will be taking at some time in the future.  I brought his photos to my website because there will be no more new ones from Ed and I wanted to make sure some of his photos would be available for you to enjoy.133-happy-ed

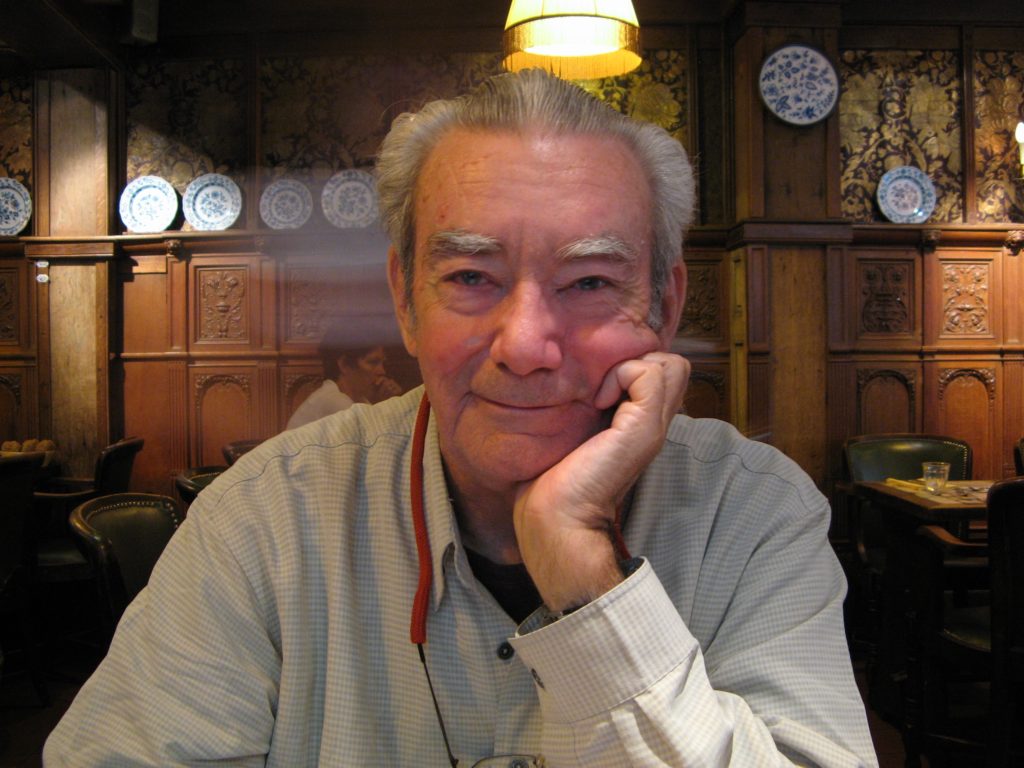
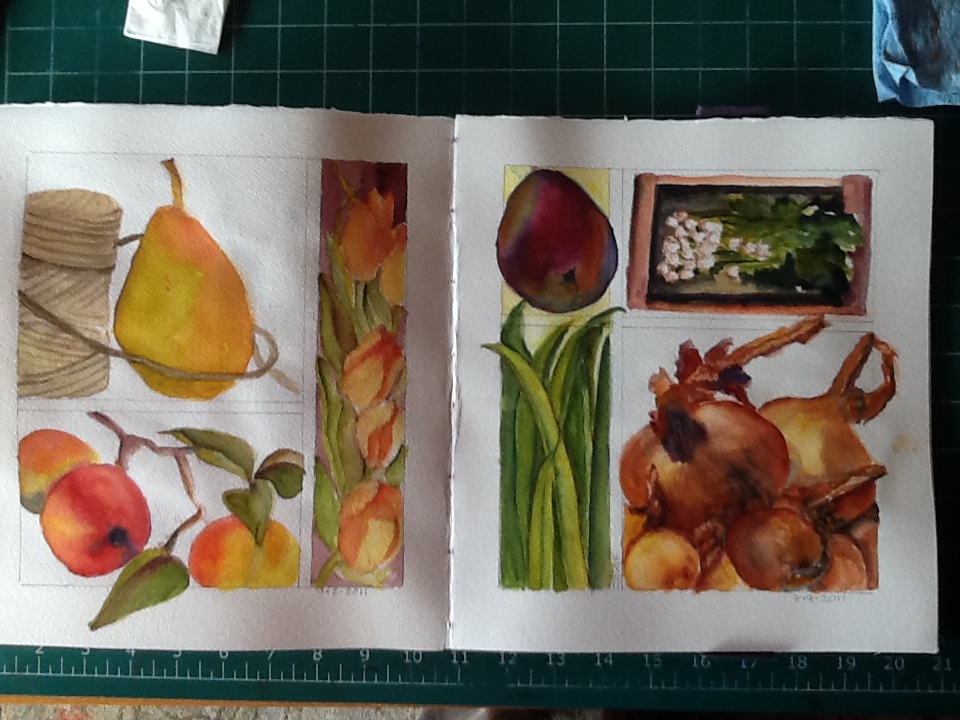
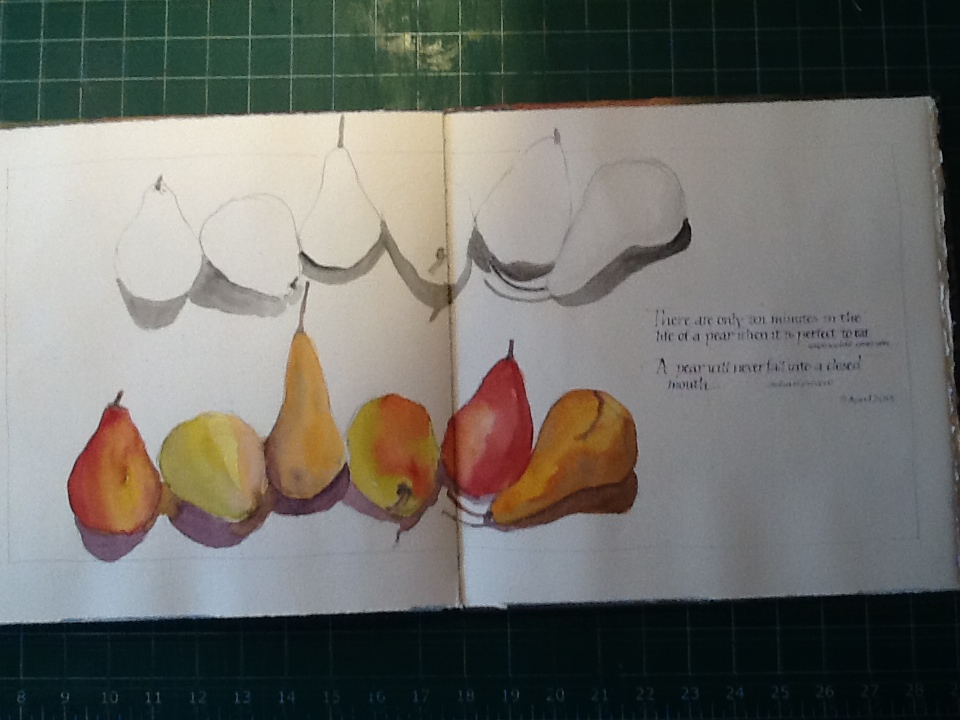
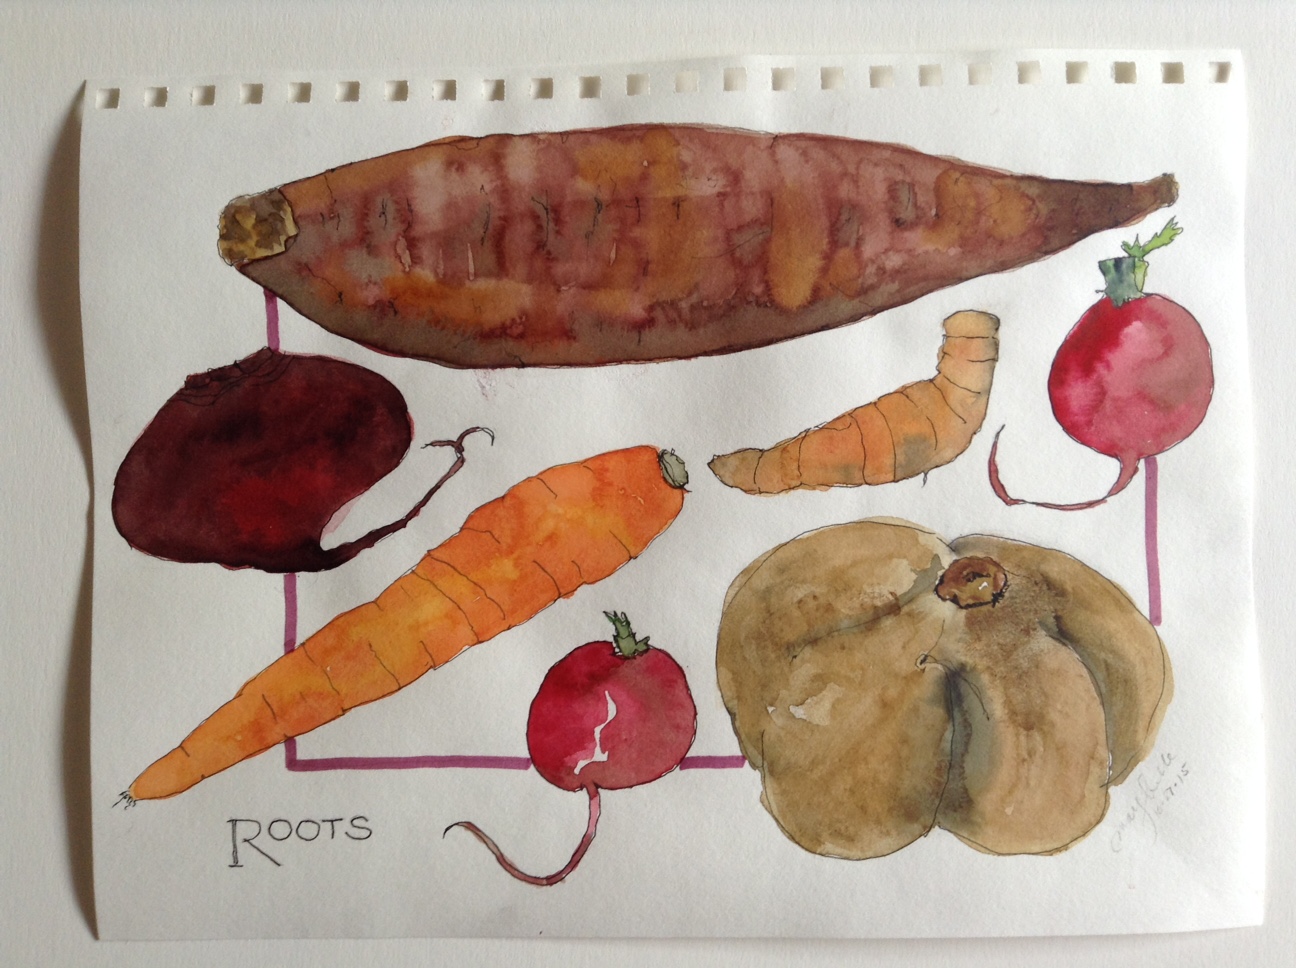
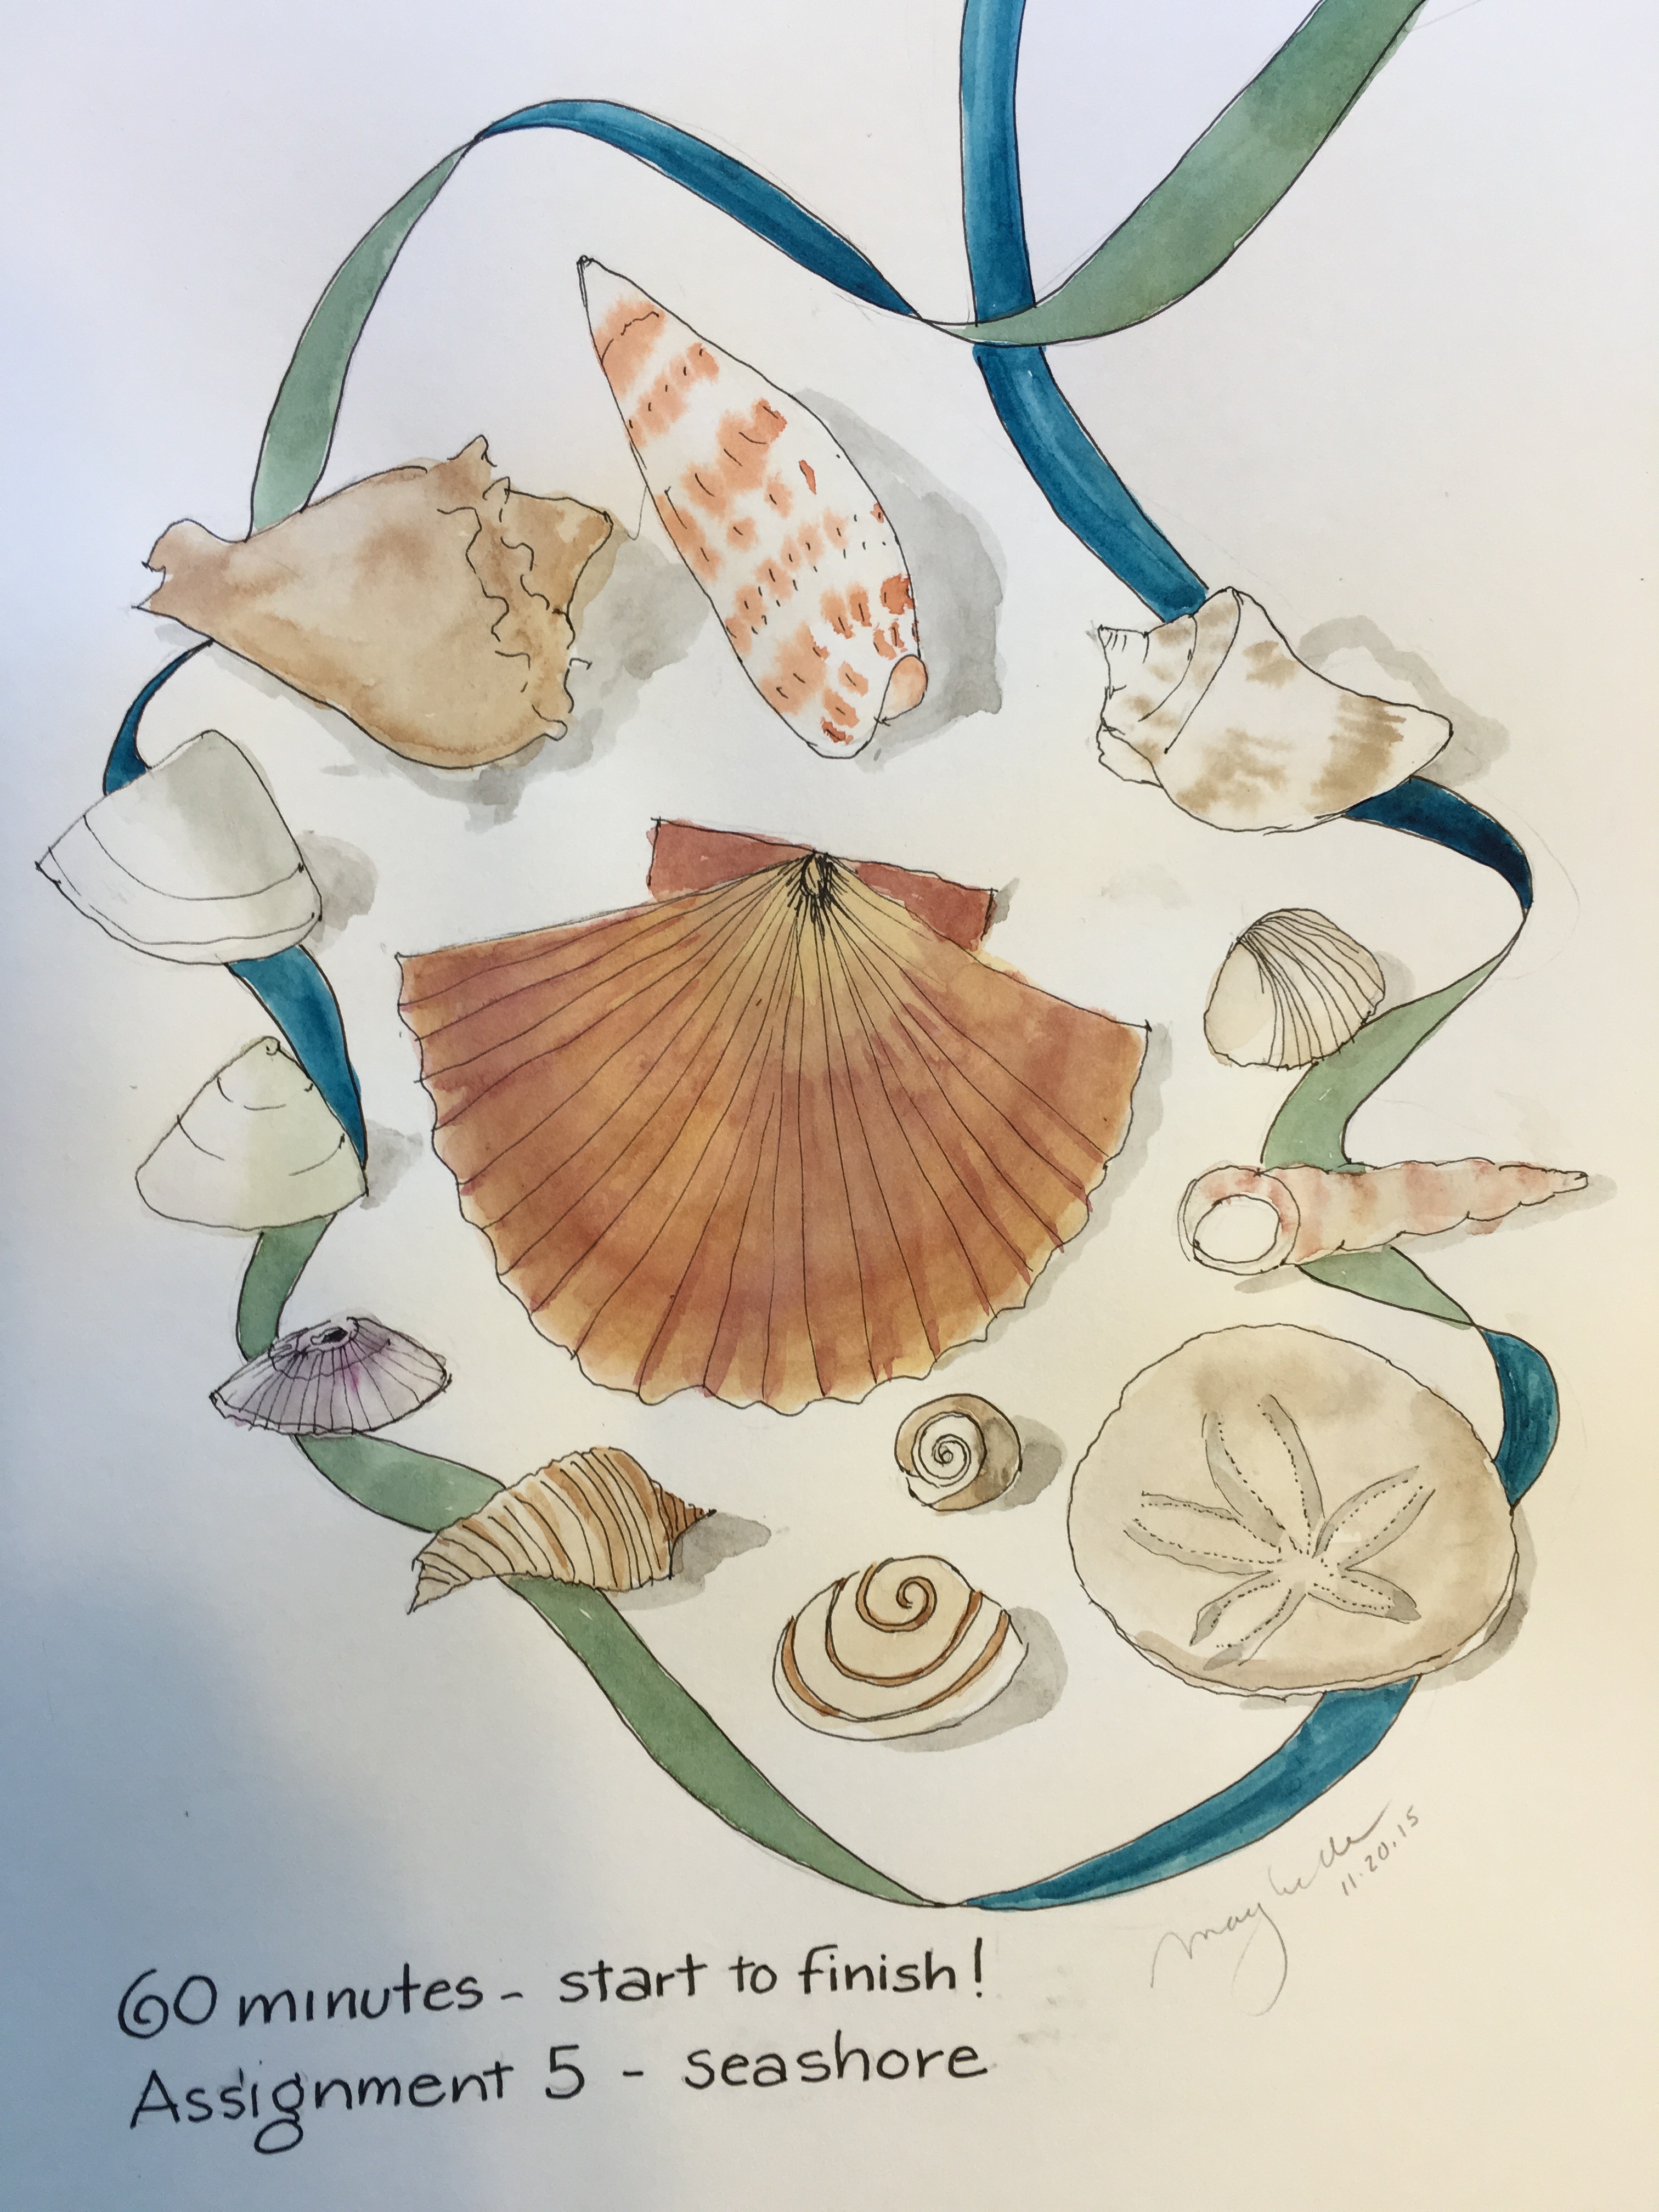
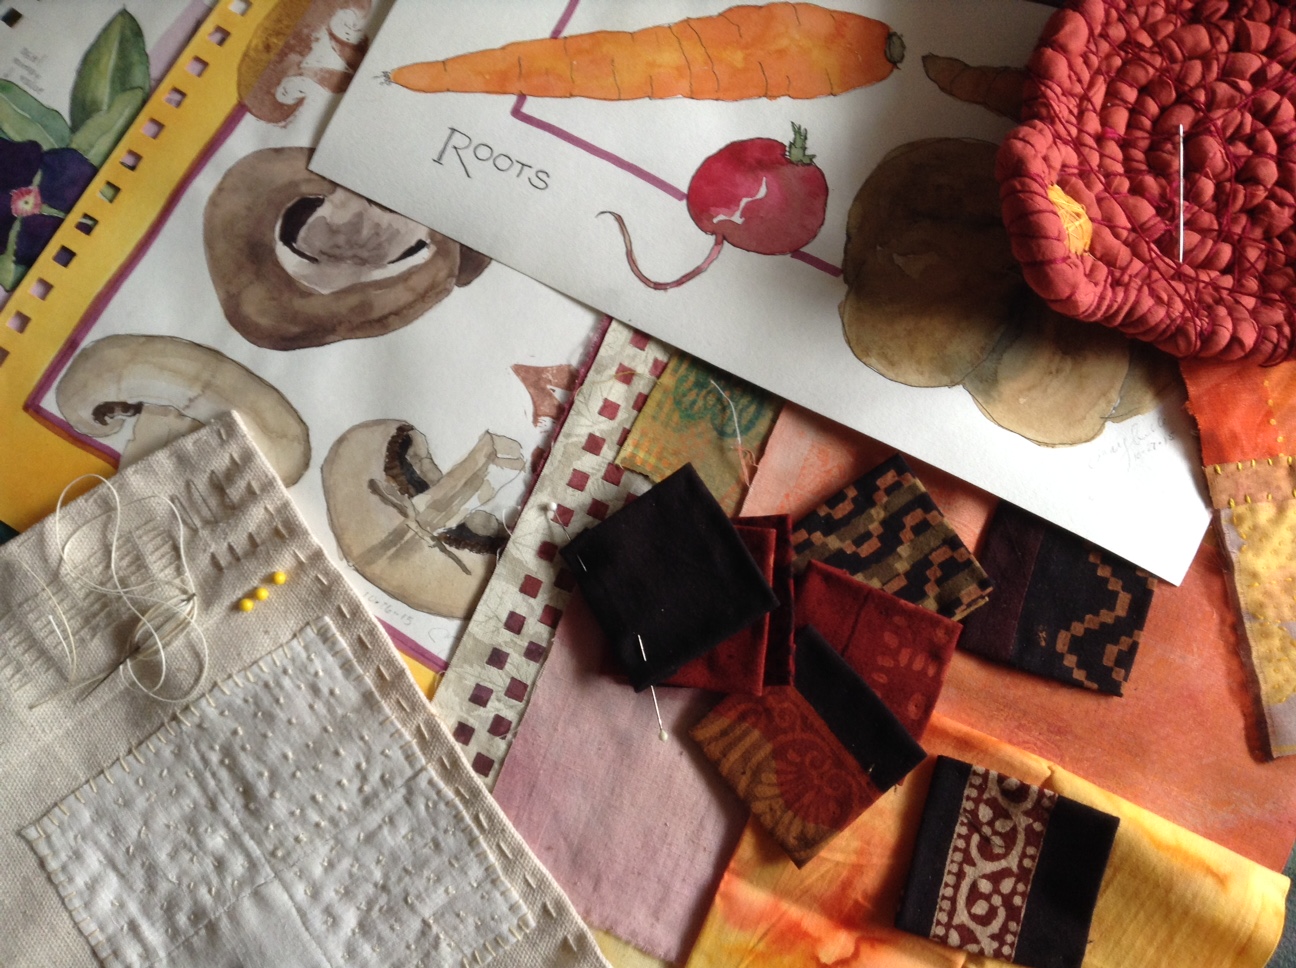
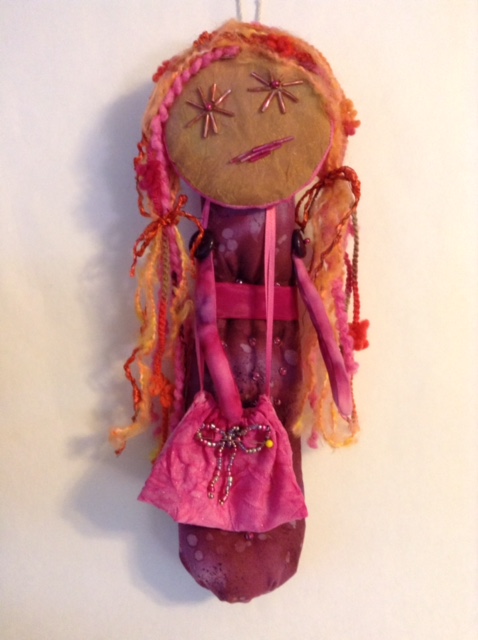
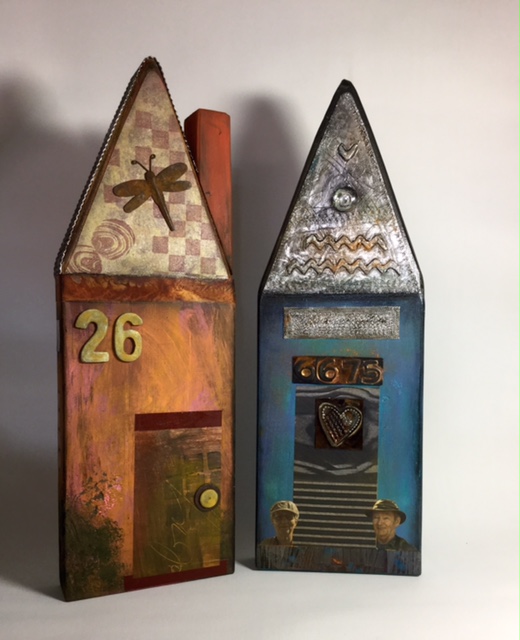
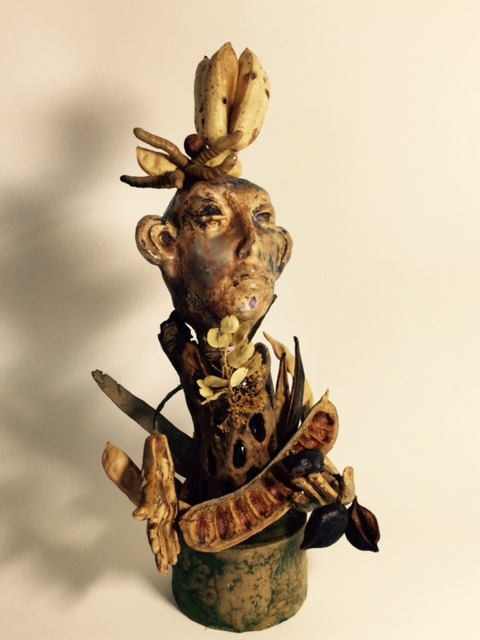
Needless to say, my life has changed big time!!!!!  I am very grateful for the multitude of friends who have circled my wagon and helped me through these early stages of grief.  Now that over four months have passed, I’m beginning to find my stride and starting to make art again.  This year’s birthday doll is almost finished and ready to be revealed.  Look for my next posting.

Now I’m focusing on getting to know myself in this new capacity.  I’ve spent over 41 years of my life in partnership with Ed and now life has become a single-handed sailing experience.  It’s quite different!!!  I’m staying put for this first year, looking at how I want to spend my life.  I’ve got to simplify things and a good place to start is to get rid of stuff that isn’t being used any more.  It seems overwhelming!!!!

Being more inclined to optimism rather than pessimism, I see my future filled with potential and new experiences while I still have health and a mind that works (sort of)!!!!!  I’m clear that creativity and discovery are important elements that contribute to my happiness so they are daily objectives.  And to maintain a broad perspective, I get out every day which helps me avoid getting caught up in sadness, self pity etc..

My most important current goal is to continue to be of “service” to others and finding ways to achieve this objective is an on-going challenge.  I see this blog as one of my “service” activities – a way of sharing my ideas, discoveries, actions and accomplishments with you.  I hope you find reading it worthwhile.

love, maybelle

fullsizerender

A Return to Watercolor

A Return to Watercolor

When my sister, Barbara Wolff, retired a few years ago, she decided that one of the things she wanted to do was to develop her drawing and painting skills. She had been journaling for many years and had incorporated informal doodles, sketches and cartoons on her pages but they were almost always an adjunct to her writing and not at all what she considered to be artful.

I always thought her journals were quite amazing. Then she announced that she was taking a drawing class at the local community college. That class marked the beginning of a whole transformation of her art and has brought her great joy.IMG_1483

As part of her adventure she has become very involved in the urban sketching movement in Santa Fe and goes sketching multiple times each week. Her work is stunning! Every time I visit her I am motivated to start drawing and painting again, but for some reason the blank page intimidates me and I become immobilized.IMG_1490

When Jane LaFazio announced a six-week on-line class titled “Watercolor Sketchbook – Designs From Life” I decided that I should take it and see if I could move past my drawing and painting block. It’s been years since I’ve spent any quality time with my pen and my paint box and I must admit that the first assignment intimidated me big time.Roots

Now, after re-friending my tools and getting past that initial fear of failure and completing the first few assignments, I’m enjoying it once again.

jane5

I doubt that I’ll ever devote the time to sketching that my sister does, but I am beginning to enjoy again the experience of sitting with my sketchbook and my watercolors and becoming totally involved in the experience of being present and seeing this beautiful world we live in.

Feathers In My Pocket…a unique piece of “hand art”!


Preface:

So what is “hand art”?  When I was trying to categorize this piece, I came up with the term because it is something you must hold and explore with your hands. Some people might call it an “artist’s book” but it really is different from a book in that it is a collection of small objects.  

I also consider my artists books to be hand art as are other small works that can be picked up and fondled such as fetishes, small dolls, all forms of cards, little quilts, and even jewelry.  I’m drawn to making these small pieces partly because I like working small and partly because I don’t have a lot of storage space for large sculpture and paintings.

I like pockets a lot.  They hold the necessities of life such as a tissues, shopping lists, found treasure such as a feathers, heart shaped stones, bits of rusted metal, and coins. In fact, when I shop for clothing I avoid buying pants and jackets that have no pockets. I especially like to create pockets out of fabric and paper and put surprises in them.

I often find myself picking up stray feathers when I take a walk.  Over the years I’ve accumulated many black, grey and white feathers that have survived living in my pockets. So, one day several years ago when I was looking at my feather collection, it occurred to me that it would be fun to make an art piece using feathers and pockets.  I started a project box for this idea and have been adding ideas, feathers and other related materials ever since.  I dedicated my September art retreat to working with the feathers and pockets.

I decided that since most of my found feathers were black, grey and white, I should create the pockets using papers of similar colors.  I started with Sumi ink and Velin Arches, my all-time favorite paper, and made marks that reminded me of feathers.  These papers became the raw material for the pockets.  For contrast I added black art papers and built a series of seven pockets in assorted sizes.  I made bird silhouette stencils  to embellish the covers.

Recently I have been using stitching in my projects.  So I turned to my sewing machine as the main tool for creating pockets.  Somehow glue just didn’t seem to be the proper medium for pocket construction.

I was particularly challenged when it came to inserting the feathers in the pockets.  I discovered that they were easily damaged and needed protection so they could be handled. This resulted in the development of yet more pockets to protect and preserve each feather inside its pocket.3feather

4featherOnce the pockets were finished and the feathers carefully placed inside I was faced with the challenge of how to make the group of pockets a cohesive art piece.  I placed them in a bird shaped basket I had found at a thrift store.  It didn’t quite work.  So my solution was yet one more pocket made from the sumi paper. I created a large pocket to contain the feathered pockets.  When you look inside, you are treated to the surprise – many little pockets to open and explore.
feather env.A final note:

I have many more feathers in my “project box” just waiting for pockets.  Time for another look at how they can be transformed into more hand art!!!!

A Special Kind of Art Retreat

This week Ed (my husband) and I are having an “art retreat week”. Since we have decided not to travel any more, we have been looking for some way of breaking our daily routines.  Both of us enjoy creative activities but we never have time for extended in-depth exploration.  Our busy schedules seem to interfere.

We came up with this idea last month as a way of traveling without having to leave Tucson!  Here’s how it works.  After breakfast we unplug the phone until after dinner, turn off the TV (I like noise in the background all the time) and limit our time on the computer to art-related searches and activities.

And every night for the entire week we go out for dinner!  We’ve discovered a lot of smaller family run restaurants with home-cooked foods that make us feel like we are in another country.  For example, last night we went to a sweet little Vietnamese place where the Pho is amazing. The night before Chicken Sharma and Lamb Kitta graced our plates. And this being Tucson, there are many small wonderful Mexican cantina type places.  So I guess you could say that we are eating our way around the world.

We start our retreat each morning at 8:15 a.m. with yoga stretches and a walk. Then we head off to our individual studios to focus on our projects. He’s very involved with photography, and this month I’m all over the place finishing up projects started months ago, taking an on-line class and catching up with my blogging.

For our September retreat I focused on a project called “Feathers in My Pocket”.  It’s an idea I’ve been waiting to develop for several years.  I’ll be posting more about it later this week. I find myself working on a wide spectrum of projects from artists’ books to painting to stitching and more.  Today my focus is taking photos and writing so this blog can be posted and shared with you.

Some of my current work "in process"

Some of my current work “in process”

This summer we both took a class at Santa Fe Workshops with Karen Divine, (www.karendivinephotography.com) an extraordinary artist who works with her iPhone photographs to develop unique composited work – all done on the iPhone desktop!  Ever since returning home Ed has been exploring the concepts he learned with her and is now working on a series using material he has shot in museums.  You’ll be able to see some of it at (www.zenfolio.com/eddddean) I don’t know just when they will be posted, but he promises it will be “soon’!!!

Ed in his "studio".

Ed in his “studio”.

Our “art retreat” idea has worked so well for both of us that we have decided to set aside the last week of each month for this type of “at-home” creative traveling.  We’ve discovered that it is a wonderful way to break our daily patterns, explore our creative thoughts and “travel” without having to go through the hassles of airport security or full days of stressful driving.

2015 Birthday Doll

For the past five years I have celebrated my birthday by making a doll.  My goal is to make the doll on the big day, but life seems to get in my way, so this year I decided to make it sometime during my birthday week.

This year my friend, Alix, came over the day before my birthday so we could work on dolls together. She had started one in a class years ago but never finished it and I had not yet started mine.  Because I am a process artist I usually work without any idea of what the finished product will be.  I let the project unfold from step to step.

I started by looking though my Pinterest art doll folder to fill my mind with a multitude of ideas.  When I started looking through fabrics I had thought I might draw a face on some unbleached muslin, but I found that I was drawn to several bright and shiny fabrics that did not lend themselves to drawing.  So I cut out two colorful circles, stitched them together. The head was born.  Next I stuffed them lightly and sewed on a bead face.

The rest of my process involved developing this sweet creature.  I created a long pyramid for her body, expecting that the wide part of the pyramid would become the shoulders of the doll.  I stitched and stuffed it and set it aside while I played with some yarns Alix shared from her stash.  Once the  dolls’s head was adorned with yarns and tied into pigtails I had a good sense of how I might finish her up by adding beads, arms and a sash.  When I put her together I inverted the pyramid so that the wide part became the base.

I finished the doll by adding a small drawstring bag.  All of my dolls except for the first one have bags or purses  in which I leave a note of some kind.  While I did not finish on my birthday, I did make it in about 8 hours, over a period of 5 days.  Now she hangs in my studio next to her four sisters.  Every time I look at her I smile.  I think she is telling me that my 79th year is going to be a lot of fun and filled with playful opportunities.

IMG_0523

Memory Houses from Recycled Wood and Ephemera

Memory HouseRecently I spent a delightful Saturday with my friend Rose Andreacola and several of her “artsy” friends.  She showed us a basic technique for creating simple house sculptures using primed scrap lumber, acrylic paints, stencils, stamps, photo copies, ephemera, and aluminum duct tape (from Home Depot and Lowes) used for making vent seams tight.

Her techniques for embossing with the metal tape are terrific.  She’s been using this in her art for well over ten years. She used mat board, cord/ric-rack, a tracing wheel,  a bone folder and a ball point pen to create the textures.  For the roof she runs the metal through a crimping tool.  From time to time she gives a wonderful class in how to do this.

It was lots of fun and Rose had several embellishment tricks for finishing including using a black wax marking pencil to accentuate edges, applying do-dads with Weldbond glue (very strong) and using various acrylic mediums for collage and varnishing.  If this is something you might be interested in doing, you might want to contact her at roseandreacola@gmail.com

I decided that my houses would focus on “memory” and dedicated #26 to my maternal grandparents.  “26” represents the street number of their home and the colors and embellishments have special associations with them.  My second house with the number “6675” is a celebration of our 40th anniversary which occurred earlier this summer.  It’s decor is infused  with memories of our life together.

Every time I glance at them a happy memory comes to mind.

“Spirit of the Desert” – an Encaustic Assemblage

In my studio I have a number of unfinished projects just waiting for the day they get moved to the top of my “to do” list.  I begin every summer with the intention of finishing all of them, but that hasn’t happened yet!  This summer “ Spirit of the Desert” made it to the top of my list and I am happy to say it is done!.

I started it over five years ago.  I had built a polymer clay head and finished it with acrylic paint, pearl powders and amber shellac.  I then torched it to bubble and move the shellac which resulted in very interesting the final surface.  But the project came to a halting stop when it came to deciding just how I was going to use it.  The head needed some kind of a base or body.  I knew I wanted it to sit among dessert detritus but none of  the cholla stems, wooden sticks, or unique rocks I had gathered suited the mood I was trying to create so I set everything aside for another year.  Every summer I would revisit the box containing the components and I’d start pondering the problem again all over again with little success.

Then last year I came up with the idea of creating my own base.  I used a can filled with gravel and covered it with “desert-like” texture.  At last I was moving forward!  I realized that the fragile plant materials that I wanted to use needed some form of treatment to preserve them.   I determined that encaustic made from amber beeswax and damar varnish would be an excellent solution, so I treated my collection of pods and leaves with the encaustic and set them aside.  Once again I was in a holding pattern waiting for my muse to divulge the next step.

My vision was to create a soulful image that conveyed the joy and wonder I feel here in the Sonoran desert.  When we first moved here from a lush northern California environment, I felt I was in strange terrain – dry, hot, prickly and mostly devoid of life.  Was I ever wrong!  I came to enjoy this desert that specializes in survivorship!  It’s hard to live here with so little water and so much heat, but desert creatures have accommodated with thick skins, hard covered seeds, shallow roots and special leaf structures to soak up the moisture when it’s available.  It’s a tribute to the adaptability of life on our planet!

This summer I discovered the project box in the back of my art closet and decided this was the year to get it finished!   It lived on my art table for several weeks while I arranged and re-arranged and adjusted the materials until finally, I was ready to commit to the final assembly.  With a little cheering from some of my art friends I present to you the finished “Spirit of the Desert”.

Naature boy

Small Quilt

Web mini quiltI made this quilt in a wonderful class taught for PaperWorks by Jane LaFazio in March.  I call it “Journey of the Spirit”.  I thought I had posted it, but I guess I didn’t!

Jane designed the class around nine writing exercises one for each of the nine component squares.  Each of the exercises centered around some aspect of our personal spiritual development.  We started each one by journaling with a gel pen on plain fabric. I chose to use an assortment of writing styles and plain neutral fabrics during these exercises, thereby adding interesting textures to the handwritten elements.

Next we tore the fabric into small pieces to be collaged on to the squares along with fabrics that we had brought to the class.  For each square Jane challenged us by introducing additional techniques including embroidery stitches (ladder stitch, French knots, loop stitch), design problems to solve (landscape layers, pockets, encasements) and items to incorporate such as beads, buttons and milagros.

From the on-set of the project, I decided to limit my palette to golds, greens and blues along with black and white.  I also decided upon finishing the squares, that I would add unity to the project by “glazing” the pieces with sheer fabrics.

While I was not able to complete the quilt in the class, I enjoyed having additional time for applying embellishments at home and stitching the squares to the thick felt background provided by Jane.  I now have a lovely piece infused with personal memory in the form of writing and other added memorabilia.  Just looking at it makes me happy.

This year stitching has become a very enjoyable addition to my creative activities.  I especially like it because of its portability – everything I need to work on a little mini-quilt can fit into a quart baggie which I can stuff into my purse and carry with me.  And it’s something I can do while half-watching TV with my husband.

Posted in Art

Morocco – A Unique Photo Book

In June of 2013, a friend gave me a beautiful piece of mica and a promise to share what she had learned about using mica in a workshop given by noted artist, Daniel Essig.  We met several times to go over her notes and to experiment with materials and book structures.

In the end, I decided that I did not want to do a book like the one she had made in Daniel’s class, but rather a “Mabel Dean” book – whatever that turned out to be.  I thought about “collections” of things which is what his book-style suggested with many unique papers, pages and windows.

Several years before my husband and I had gone to Morocco and I had taken some photos of people and places.  I decided that I would gather my favorite photos from that trip for this book.  The concept of using them as an Essig-style “collection” seemed intriguing.

I selected and printed test color photos on plain computer paper.  I liked the feel of the photo on the ordinary paper.  Some how regular photo paper did not suit my Moroccan pictures.  I experimented with finishes on photos printed on various papers and observed how shellac (yellow and white) and Dorland’s wax gave the photos a unique aged feeling especially when the pictures were printed on regular copy paper.

Morocco - openI thought about how  a book of colored photographs, page after page, could become boring.  I looked through my files to see what I might use for contrast and found that I had a number of “grab” shots of people that could work in the book.  Moroccan people do not like to be photographed, and I still feel a bit guilty that I snapped them when they had not agreed.  But I decided to use them in this particular book because it would not be for sale and it will have limited circulation. I believe that my treatment of their photos by printing them in black and white on transparencies, is a way of honoring them and their culture.

MoroccoOnce I had prepared the photographs – printing, treatments, and mounting on individual pages, I began to explore the kind of book structure to use.  After thought and experimentation, I determined that a stiff leaf binding would be the best format.

I found decorative brass metal in my stash, and velvet pink sand from the Sahara desert which I had brought home with me. All of these materials were used to create the covers. Somehow they seemed right for the project.  I painted Velin Arches papers so they had a sand-like feel and created a window for the sand.  Mica – possibly from the Atlas Mountains – served as the window pane.  A scrap of the brass was included along with a cerulean sky to create a Sahara landscape on the inside back cover.

Morocco

My book was nearing completion.  Next I faced the challenge of engineering the book so that it would come together in a cohesive fashion.  Integrating all the components of the covers with the structure and maintaining a Moroccan flavor was my goal. I wanted a cover that would reinforce that this was a book about Morocco.  I determined that wood would be the appropriate cover material as the covers are like doors into the book.  I had some wood veneer that turned out to be just right once it was stained.  Adding a brass form to the front cover further suggested the door theme.

frontcoverThe book is now complete and my memorial to Morocco is in a form that will continue to bring back fond memory of that beautiful country.  I feel the end result is definitely a “Mabel Dean” book.  As I hold it in my hands I can see the Daniel Essig influences, subtle and sensory.

Guest House – An Encaustic Hanging Book Structure

One winter Saturday I took on a personal challenge to make a book in one day informed by the sculptural qualities of Daniel Essig’s work.  I wanted to submit the book for the Poetry Center show “Beyond Word and Image”.

Before starting, I “juiced” my muse by looking at artists books and setting aside some of my favorite texts and looking again at Dan’s work.  I began by painting two large sheets of Stonehenge and folding them into pages.  I reread the texts I had set aside to see if there was a fit.  I found that Rumi”s “Guest House was coming to life.

The individual folios became rooms.  I created openings to suggest  doorways and windows so one could travel through the house.  After much experimentation, I found a writing style for the poetry. But I was not finished.  The work needed a “wow” in the form of some sculptural element. That is part of the charm of Daniel’s work.

The GuestI stepped away from the piece and several days later realized that the book should be hung from something!  I could use a human form since the text refers to our humanness being a guest house.  I decided to suspend the book from an upper torso shape which I constructed using a foam-core base wrapped with plaster bandage.  This provided an opportunity to implant a hanger so the book can be displayed on the wall.

I painted the form with acrylic paint and applied a encaustic coating.  The final step was to attach the book to the form using artificial sinew.

The book took more than a day but less than a week to complete!  And it was not chosen to be in the show!  Oh well, that disappointment is just a part of being a human guest house.  I subsequently found out that the jurors were more focused on the graphic elements of the work submitted and in choosing a cohesive show, had eliminated some unique pieces that embodied innovative structures.